
Best phone lenses for mobile photography usually come down to one thing: matching the lens type to what your phone can’t physically do, without turning your camera app into a frustrating science project. If your photos look soft at the edges, your “zoom” gets crunchy, or you can’t get close enough for food, products, or flowers, clip-on lenses can help—when you pick the right kind.
It’s also easy to waste money here. Some add-ons look impressive on a product page, then slip on your case, block your flash, or add flare that makes everything hazy. The goal of this guide is to keep it practical: which lens types matter, what to check for compatibility, and how to actually use them so the improvement is obvious.
One more reality check: a phone lens won’t magically turn a phone into a full-frame camera. But it can give you better framing options, stronger close-up detail, and more creative control—especially if you shoot travel, content for social, or small products.
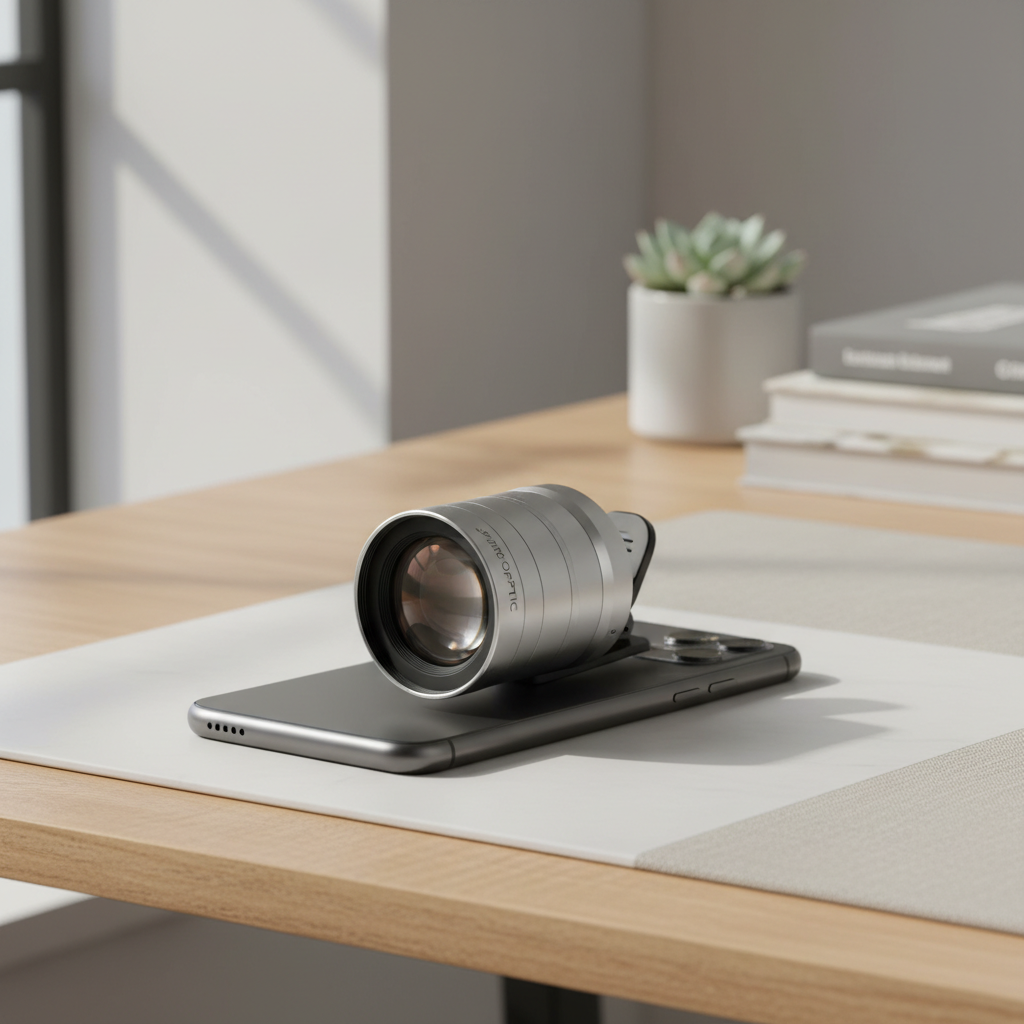
What external phone lenses actually improve (and what they don’t)
External lenses help because phones are limited by thin hardware. You can’t change the focal length or minimum focus distance very much on the built-in camera modules, so add-on glass can expand those options.
- They can improve framing: true wide, real macro, more reach than digital zoom.
- They can change perspective: ultra-wide exaggeration, tele compression, fisheye distortion.
- They can support creative looks: anamorphic flares, oval bokeh, cinematic crops.
What they usually don’t fix is shaky hands, bad light, or heavy compression from social apps. According to Apple Support, keeping the iPhone camera lenses clean and free of obstructions helps maintain image quality, so basic care still matters even with add-ons.
Lens types that matter most for mobile photography
If you’re only buying one, pick based on what you shoot most. A lot of people default to “zoom,” but macro or wide often changes your portfolio faster.
Macro lenses (for detail and product shots)
Macro is the clearest “wow” upgrade because it unlocks close focusing your phone cannot do. Great for rings, skincare textures, watches, plants, food garnish, and small crafts.
- Look for comfortable working distance (so you’re not touching the subject).
- Expect shallow depth of field, you’ll need steady hands or a small tripod.
- Use lots of light to keep ISO down and detail crisp.
Wide and ultra-wide lenses (for travel, interiors, group shots)
Phones already have wide cameras, but external wide glass can be useful when your built-in ultra-wide is noisy, soft, or too distorted. It’s also handy if you want wide framing while staying on the main camera sensor.
- Check for edge sharpness and distortion control, cheaper wide lenses smear corners.
- Watch for vignetting (dark corners), especially on multi-camera phones.
Telephoto lenses (for portraits and distance)
Tele add-ons can give you more reach than digital zoom, but they’re the most sensitive to alignment, shake, and haze. If you shoot outdoor sports, kids on a field, or travel details, they can be worth it—just plan to stabilize.
- A small tripod or grip makes a bigger difference than people expect.
- Prefer optical reach for framing, then use minimal digital zoom.
Anamorphic lenses (for cinematic content)
Anamorphic is about style more than “quality.” You get a wider cinematic field of view and horizontal flares, then “de-squeeze” in an app. Fun for video creators, less useful for everyday stills.
Fisheye and specialty effects (use sparingly)
Fisheye can be cool, but it’s a niche look. If you’re building a kit, most people get more value from macro or wide first.
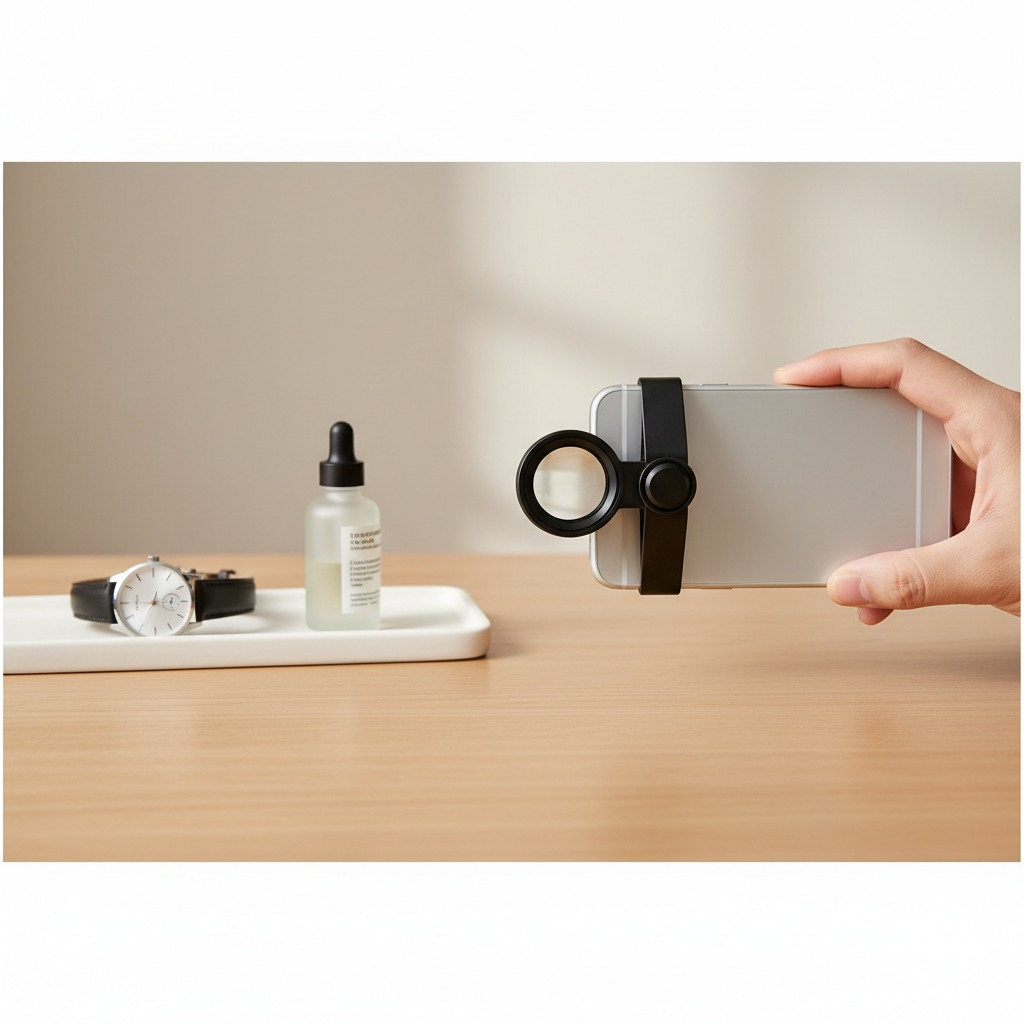
Quick compatibility checklist before you buy
The biggest “lens regret” issues are physical fit and camera selection. Run through this list before you checkout.
- Phone model and camera layout: big camera bumps and off-center lenses can cause misalignment.
- Case thickness: many clip systems struggle with rugged cases, or they tilt slightly.
- Which camera you’ll use: main camera vs ultra-wide vs tele, some add-ons work well on only one.
- Clip vs bayonet mount: bayonet-style mounts are typically more repeatable and stable, clips are more universal.
- Flash/laser/ToF obstruction: a mispositioned lens can block sensors and cause focus problems.
- App workflow: anamorphic often needs a compatible capture/edit app for de-squeeze.
If you’re comparing options for the best phone lenses for mobile photography, compatibility is often a better tie-breaker than tiny spec differences.
A realistic “best lens” guide by shooting scenario
This is the part most people actually want: what to buy for what you shoot. Use this as a fast shortlist.
| Scenario | Most useful lens type | Why it helps | Setup tip |
|---|---|---|---|
| Food, crafts, jewelry, skincare | Macro | True close focus and fine detail | Add a small LED light, stabilize with a mini tripod |
| Travel streets, landscapes | Wide / ultra-wide | Fits more scene, stronger sense of place | Keep horizon centered to reduce visible distortion |
| Portraits, candid moments | Telephoto | Flattering perspective, cleaner background separation | Shoot in bright light, avoid heavy digital zoom |
| Real estate, small rooms | Wide | Expands space in frame | Mind vertical lines, correct in editing if needed |
| Reels, short films, music video | Anamorphic | Cinematic field of view and flare style | Plan for de-squeeze in post |
How to get noticeably better results (setup that actually works)
Good glass helps, but consistent results come from small habits. This is where many kits “feel disappointing” until you tighten the process.
1) Align the lens, then test corners
After attaching, open your camera and point at a plain surface or a grid-like scene. If corners look dark or smeared, slightly rotate or shift the lens until it centers. A few millimeters matters.
2) Clean everything more than you think
Fingerprint haze is brutal with add-on glass. Wipe both the phone camera cover and the external lens. According to Nikon, keeping lenses clean and using proper microfiber cloths helps avoid scratches and image degradation.
3) Stabilize for tele and macro
Tele magnifies shake, macro magnifies focus mistakes. A simple phone grip, leaning against a wall, or a compact tripod often beats “better specs.”
4) Use light to control noise and shutter speed
If your images look mushy, it’s often low light forcing a slow shutter or high ISO. Add a small LED panel or shoot near a window, then lock exposure if your app allows.
5) Shoot in the best app mode for your goal
- Stills: use the main camera when possible, it’s usually the strongest sensor.
- Macro: tap-to-focus carefully, then take a short burst to increase keepers.
- Video: lock focus/exposure to avoid pulsing.
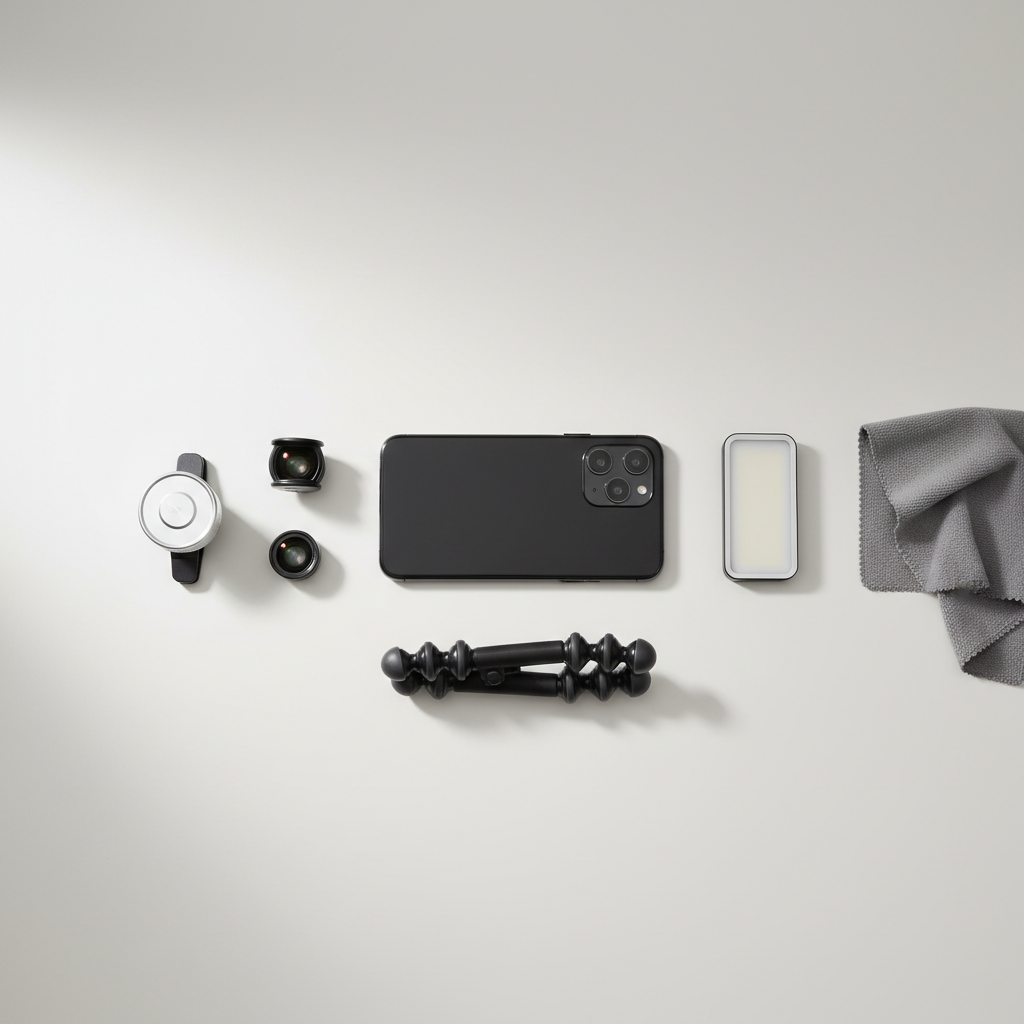
Common mistakes that make phone lenses feel “bad”
Most complaints trace back to a few repeat problems. Fix these and even mid-range kits often feel much better.
- Using the wrong camera module: the lens might be aligned to the main camera, but your phone auto-switches to ultra-wide in low light.
- Stacking lenses: it can work, but it often adds flare and softness unless the system is designed for stacking.
- Expecting tele to work indoors: low light + long focal length = blur and noise.
- Shooting into strong light: cheap coatings create flare; shade the lens with your hand (without entering frame).
- Ignoring minimum focus distance: especially with macro, moving a bit farther back can snap detail into place.
Key takeaways + a simple buying plan
If you want a clean path to the best phone lenses for mobile photography, build your kit in the order that solves your real limitation, not the order that looks coolest.
- If you shoot products or detail: buy a macro first, then add a small light.
- If you shoot travel or interiors: go wide, prioritize edge quality and low vignetting.
- If you shoot portraits and distance: consider tele, but budget for stabilization.
- If you shoot video for style: add anamorphic only after your basics feel solid.
Action step: decide your top shooting scenario this week, then choose one lens type and commit to a 30-minute test session in good light. You’ll learn more from that than from browsing specs all night.
If you’d rather skip trial-and-error, a short compatibility check against your phone model, case, and shooting style can narrow options quickly and keep your first purchase feeling like an upgrade, not a return.