
how to fix printer not printing clearly usually comes down to a few repeat offenders: wrong paper settings, low ink/toner, clogged printheads, or a driver setting that quietly changed.
If you print shipping labels, school forms, or client docs, “almost readable” is still a problem, it wastes paper, costs time, and makes you doubt every page that comes out. The good news is most clarity issues follow predictable patterns, so you can diagnose them without guessing.
Below is a practical flow: identify what “unclear” looks like, run the right built-in maintenance, then fix settings and supplies based on what you see. I’ll also flag where it’s smarter to stop and get service instead of burning through ink.
Start with the symptom: what “not printing clearly” actually looks like
Before you change anything, look at one fresh print and name the symptom. This saves you from doing the wrong “fix” (like cleaning heads when the real issue is paper type).
- Faded or light print: often low ink/toner, draft mode, wrong media setting, or partially clogged nozzles.
- Streaks or banding (lines across the page): commonly clogged nozzles (inkjet) or drum/toner issues (laser).
- Smudging: paper mismatch, too much ink for the paper, or fuser/heat issues on laser printers.
- Ghosting/double images: more typical on laser printers (drum/fuser/toner problems).
- Blurry text: low resolution settings, wrong driver, or printing images as text.
Quick reality check: if the printer’s built-in reports (like a nozzle check or test page) look bad, it’s usually printer hardware/consables. If those look sharp but your document doesn’t, it’s usually software or settings.
Fast triage checklist (5 minutes, no tools)
This is the shortest route to a useful diagnosis, and it covers most cases where people search how to fix printer not printing clearly.
- Print a test page from the printer menu or driver utility (not from your document).
- Confirm paper: correct size, not damp, not curled, and matches the setting (Plain vs Photo, etc.).
- Check ink/toner levels: low levels can look “fine” on the meter but still print weak, especially with older cartridges.
- Turn off Draft/Econo mode and set quality to Standard/Normal as a baseline.
- Restart the print path: power cycle printer, then restart the computer, then print again.
- Try a different file (simple PDF) to rule out a document formatting issue.
According to HP Support, printing a diagnostic page such as a print quality report or nozzle check is one of the most reliable first steps to isolate whether the issue is hardware/supplies or software settings.
Match common causes to the right fix (quick reference table)
If you want the “editor’s cut” version, use this table to pick the next action based on what you see.
| What you see | Most likely cause | Best first fix |
|---|---|---|
| Faded text across whole page | Draft/Econo mode, low ink/toner, wrong media type | Set quality to Normal, confirm paper type, replace/redistribute cartridge |
| Horizontal banding (inkjet) | Clogged nozzles, misalignment | Nozzle check → printhead cleaning → alignment |
| Random spots/lines (laser) | Dirty rollers, toner leaks, damaged drum | Remove toner, gently clean accessible areas, run cleaning page |
| Smears that rub off | Wrong paper, too much ink, laser fuser not bonding toner | Use plain paper setting, try different paper, check fuser warnings |
| Ghosting/double images (laser) | Drum/fuser aging | Replace drum/toner per model guidance, consider service if persistent |
| Only one color missing | Empty/blocked color channel | Replace that cartridge, run a targeted clean cycle |
Inkjet vs. laser: the fixes that actually differ
A lot of frustration comes from using inkjet advice on a laser printer (or the other way around). The symptoms can look similar, but the mechanics differ.
Inkjet: clarity is mostly about nozzles, ink flow, and alignment
- Nozzle clogs are common if the printer sits unused, especially with pigment inks.
- Head alignment matters for sharp text; misalignment can look like blur or shadowing.
- Paper choice changes absorption; cheap or damp paper can feather ink and soften edges.
Laser: clarity is mostly about toner, drum, and fuser
- Toner distribution can cause light areas or repeating defects, sometimes improved by gently rocking the cartridge side-to-side.
- Drum wear often shows repeating marks at consistent intervals.
- Fuser problems show up as smudging or toner that wipes off, and this is one place where DIY has limits.
According to Brother Solutions Center, print quality troubleshooting typically starts with identifying whether the issue follows a repeating pattern (often drum/roller related) or appears as banding/fading (often supply or cleaning related).
Step-by-step: practical fixes that solve most print clarity problems
Run these in order. Each step is meant to be cheap and reversible; you stop when prints look clean again.
1) Reset print settings to a known-good baseline
- On your computer, open the print dialog and set Quality to Normal/Standard.
- Set Paper Type to Plain Paper unless you truly use photo paper or labels.
- Disable Draft/Econo, “Toner Save,” or “Fast” modes.
- Confirm you selected the correct printer queue (people often have a “copy” queue with older defaults).
This single reset fixes more “mysteriously blurry” prints than most people expect, especially after OS updates.
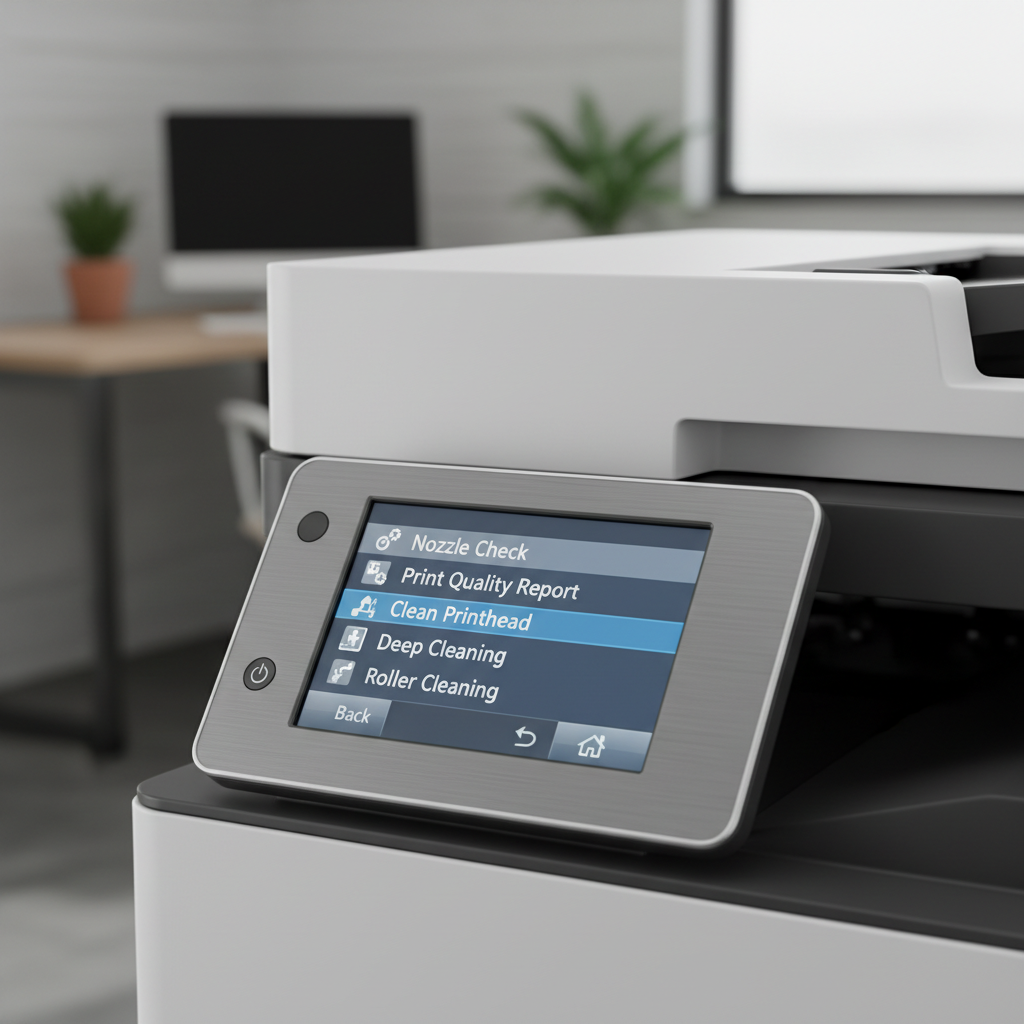
2) Print a nozzle check / quality report, then clean the right way
- If the nozzle check shows missing lines, run one cleaning cycle, then print the check again.
- If it improves but isn’t perfect, run a second cycle, then stop and wait 30–60 minutes before doing more. Over-cleaning can waste ink and sometimes makes results worse.
- After cleaning, run alignment if your printer offers it.
According to Canon Support, using the printer’s built-in cleaning and alignment utilities is the recommended approach before attempting manual cleaning, since manual methods vary by model and can damage components if done improperly.

3) Address ink/toner and cartridges like a grown-up (not just “replace everything”)
- Inkjet: if a cartridge is near empty, text may fade even if the meter still shows some ink. Replacing the weak color can restore sharp black text on some models that mix colors for “rich black.”
- Laser: remove the toner cartridge and gently rock it a few times to redistribute toner, then reinsert. If clarity returns briefly and fades again, replacement is often the real fix.
- Confirm cartridges are seated correctly, and any protective seals/tapes were removed (yes, it still happens).
If you use third-party supplies, results vary by brand and printer model. It can work fine, but inconsistent toner/ink formulation is a common reason prints look muddy or gray.
4) Clean what you can access safely
- Turn off and unplug the printer before cleaning accessible areas.
- Use a lint-free cloth to remove visible paper dust around the feed path.
- Avoid touching drums, rollers, and printheads directly unless the manufacturer guide says it’s safe for your model.
If you see toner inside a laser printer, don’t use a household vacuum; fine toner dust can be a mess and some vacuums are not designed for it. If you’re unsure, it’s reasonable to contact the manufacturer or a local repair shop.
5) Update or reinstall the driver (especially after OS changes)
- Download the latest driver from the manufacturer support page for your exact model.
- If you recently switched from USB to Wi‑Fi (or vice versa), remove old printer instances to avoid printing through the wrong queue.
- On Windows, check the printer is not using a generic class driver if your model needs a full feature driver for quality controls.
When people ask how to fix printer not printing clearly and they’ve already cleaned everything, a driver mismatch is a frequent “hidden” cause.
Common mistakes that waste ink and time
- Running cleaning cycles repeatedly without checking progress between cycles.
- Ignoring paper settings and assuming the printer will “figure it out.” Many don’t.
- Using photo mode for plain paper, which can oversaturate and smear.
- Blaming the printer for a low-res file: screenshots and low-DPI images will print soft no matter what.
- Cleaning the wrong parts (touching drums/printheads) and creating a new problem.
When to stop DIY and seek professional help
Some clarity issues are fixable at home, but a few patterns are strong hints you’re fighting hardware wear.
- Laser smudging that wipes off easily after trying correct paper settings can point to fuser trouble.
- Repeating marks at consistent intervals that persist after toner replacement often suggests drum/roller wear.
- Inkjet head failures where nozzle checks never improve after limited cleaning cycles.
- Error codes related to print system, fuser, or maintenance box that block proper printing.
If the printer is under warranty, it’s often smarter to use the manufacturer support channel early. If it’s out of warranty, compare repair cost vs. replacement, especially for low-end models where parts and labor add up fast.
Key takeaways (the short version)
- Use a test page/nozzle check to separate hardware issues from document/settings issues.
- Paper type + quality settings cause a surprising number of “blurry” complaints.
- Inkjet banding usually wants nozzle cleaning and alignment, not random setting changes.
- Laser ghosting/smudging often points to toner/drum/fuser, and sometimes needs replacement or service.
Pick one symptom, do one targeted fix, re-test, and move on. That workflow is the real secret to getting sharp prints without wasting supplies.
FAQ
Why is my printer printing blurry text but images look fine?
That usually points to a driver or font rendering issue, or the document is being rasterized at a low resolution. Try printing a simple PDF text page, then reinstall the manufacturer driver if the issue persists.
How do I fix printer not printing clearly after changing to Wi‑Fi?
Check you’re printing to the correct printer instance, not an old “copy” queue with draft defaults. Deleting old printer entries and re-adding the device often restores the right settings.
My ink levels show half full, so why are prints faded?
Ink level indicators are estimates. Partial clogs, air in the line, or a weak cartridge can still produce light output. A nozzle check plus one cleaning cycle is a better indicator than the meter alone.
Is it safe to run printhead cleaning multiple times?
It’s usually safe in moderation, but it can burn through ink quickly and sometimes overheats or stresses components on certain models. If two cycles don’t change the nozzle check much, it’s time to stop and reassess.
Why does my laser printer leave smudges that rub off?
Often it’s paper mismatch or a fuser that isn’t bonding toner well. Try plain paper settings and known-good paper first; if toner still wipes off, consider manufacturer support or a repair shop.
Do third-party cartridges cause unclear printing?
They can, depending on the formulation and quality control. If clarity problems started right after switching, testing with an OEM cartridge (even just one) is a quick way to confirm.
How can I tell if it’s my document, not the printer?
Print the printer’s built-in test page. If that page looks sharp but your file doesn’t, focus on the app settings, PDF export quality, image resolution, and driver.
If you’re trying to fix unclear prints fast for work or shipping and you’d rather not troubleshoot blind, it can help to note your printer model, ink/toner type, and the exact symptom, then follow a targeted checklist or get guided support so you avoid wasting supplies.